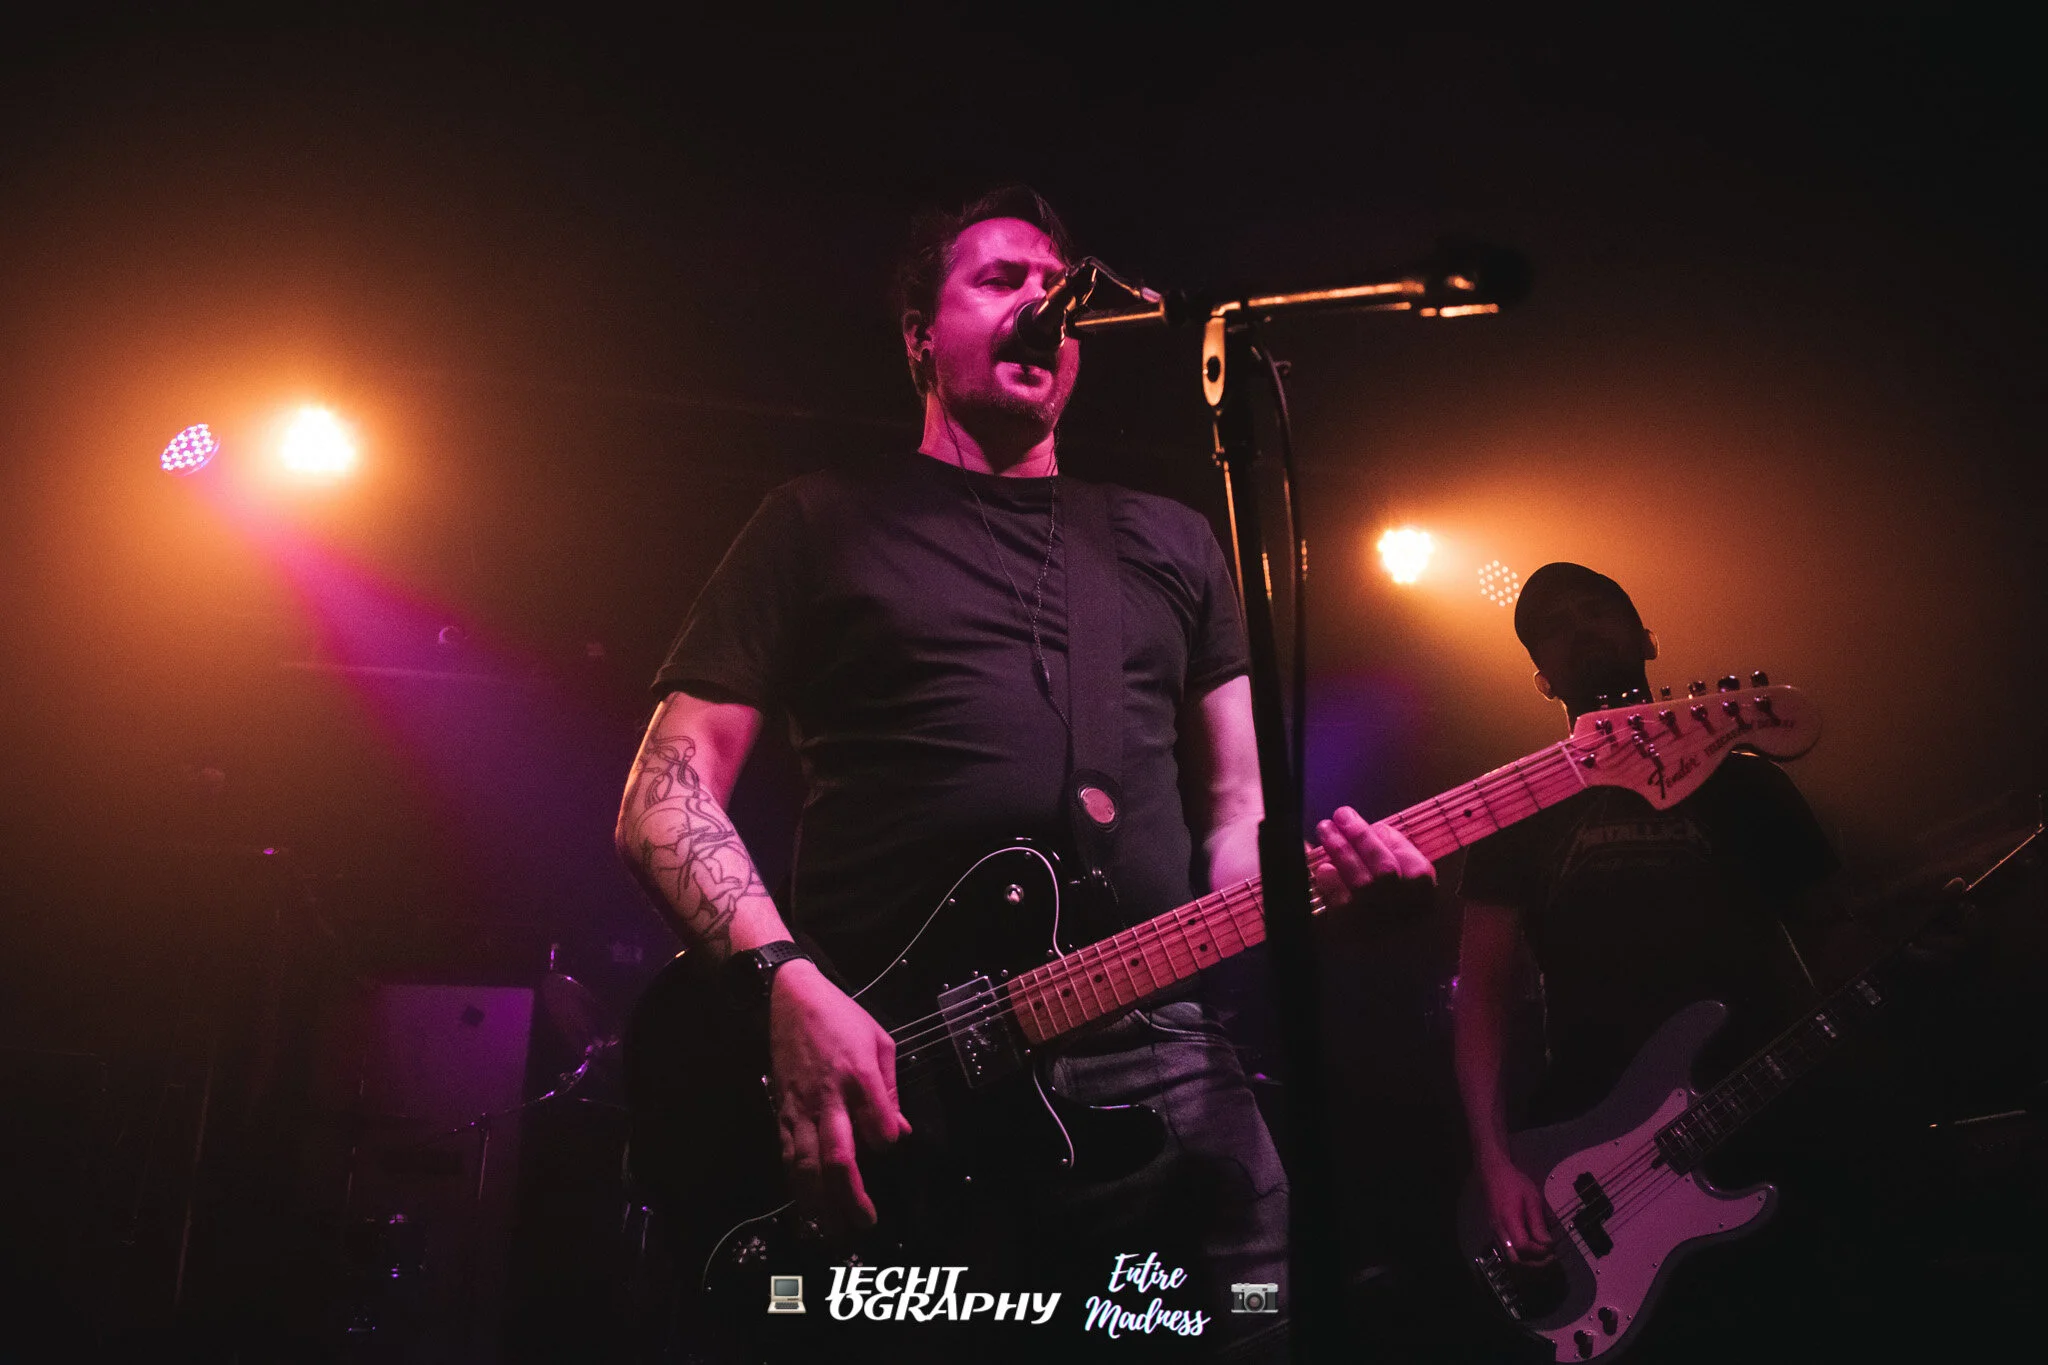


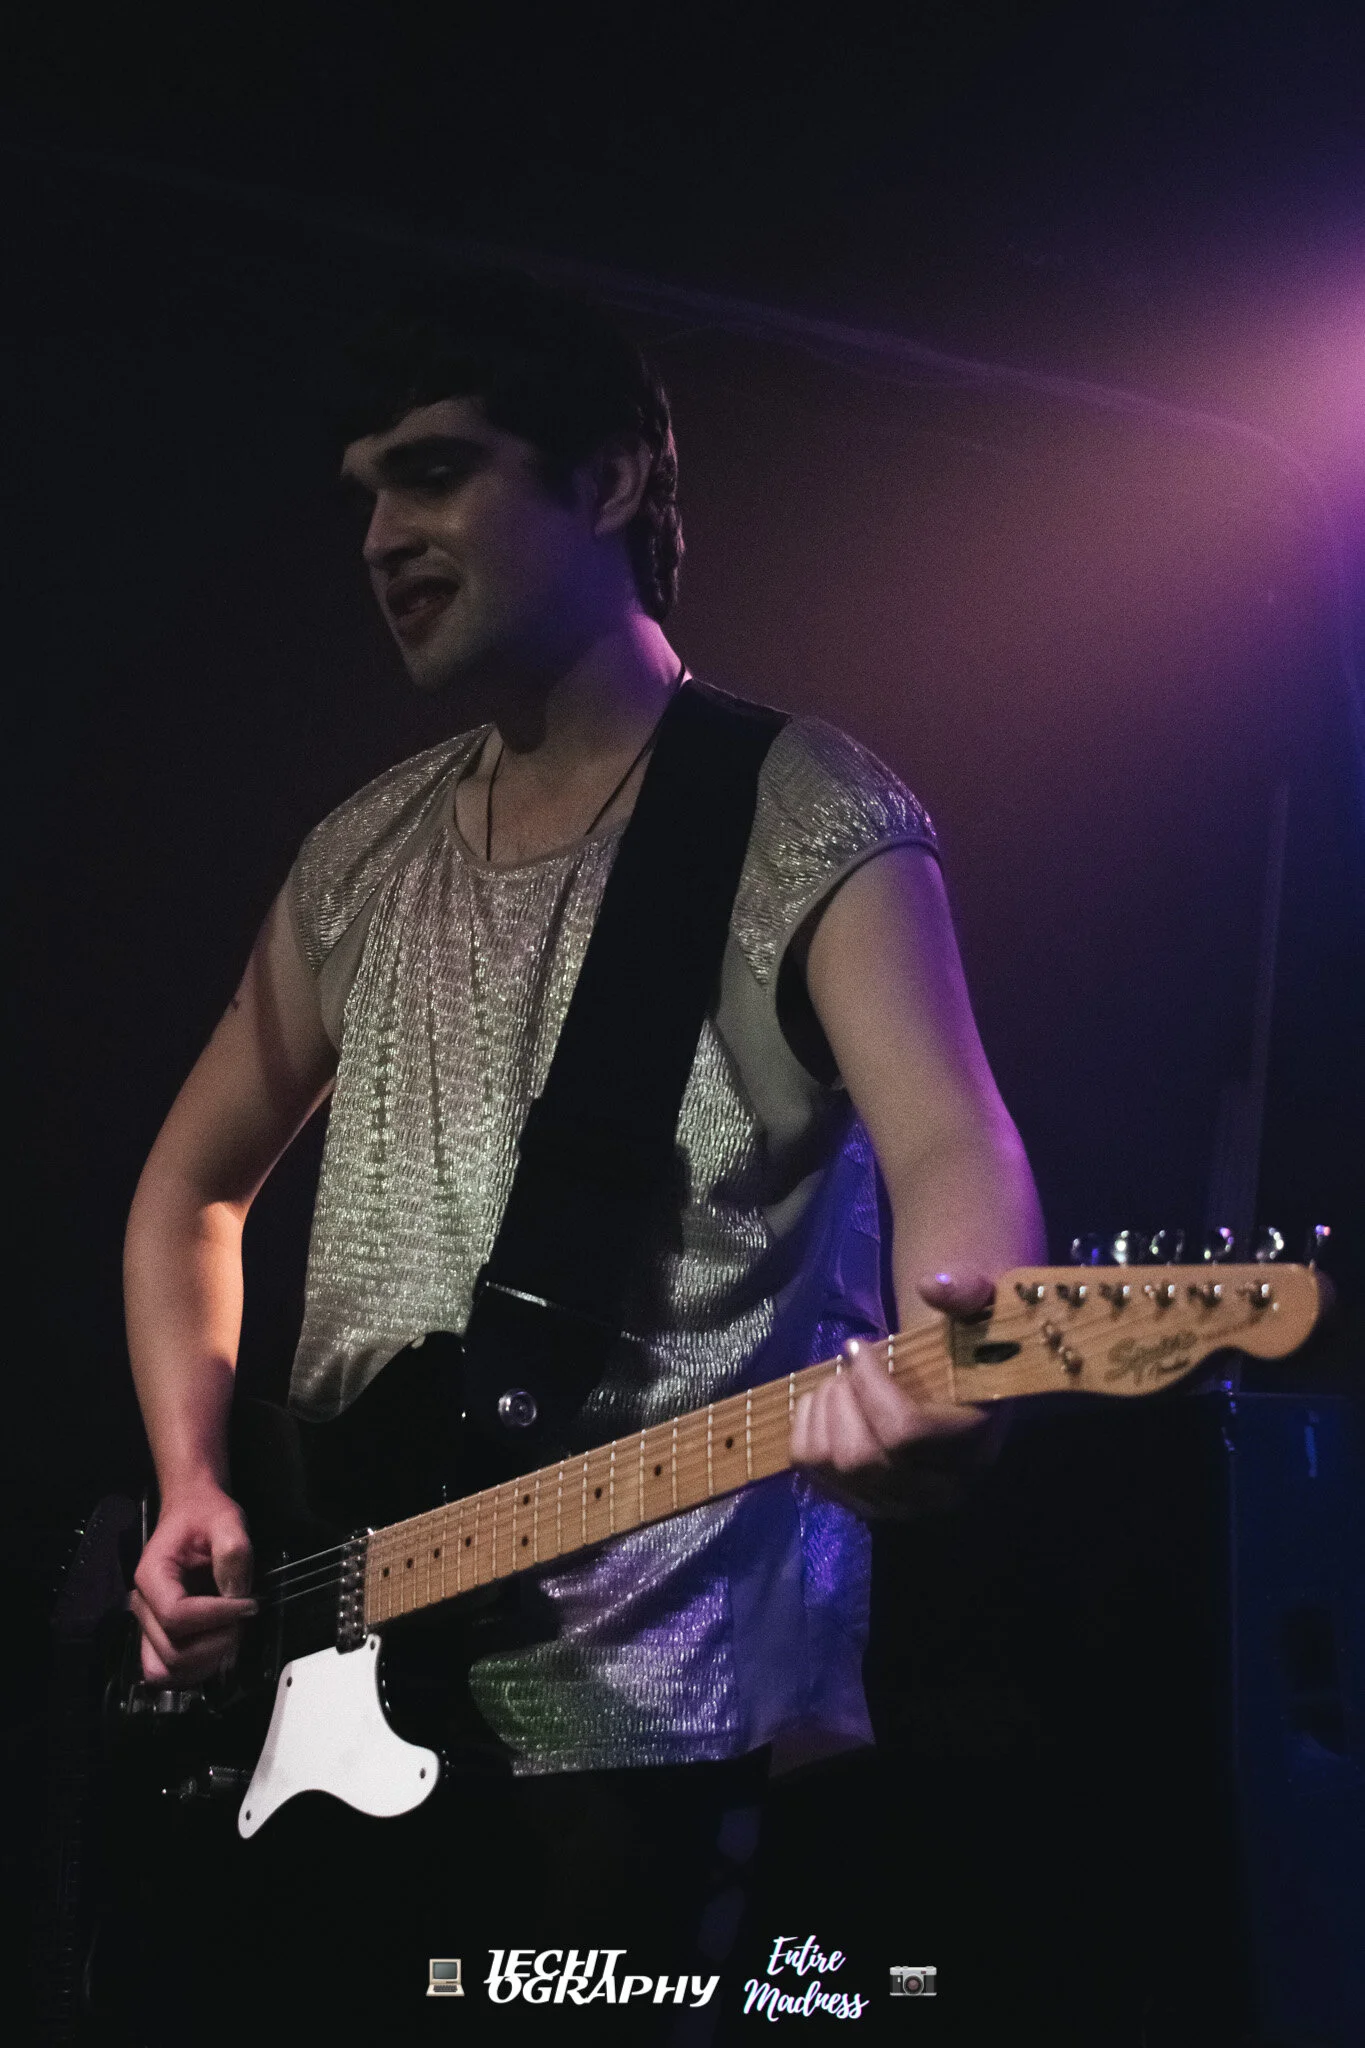
S H E
Entire Madness shot, Jechtography edited


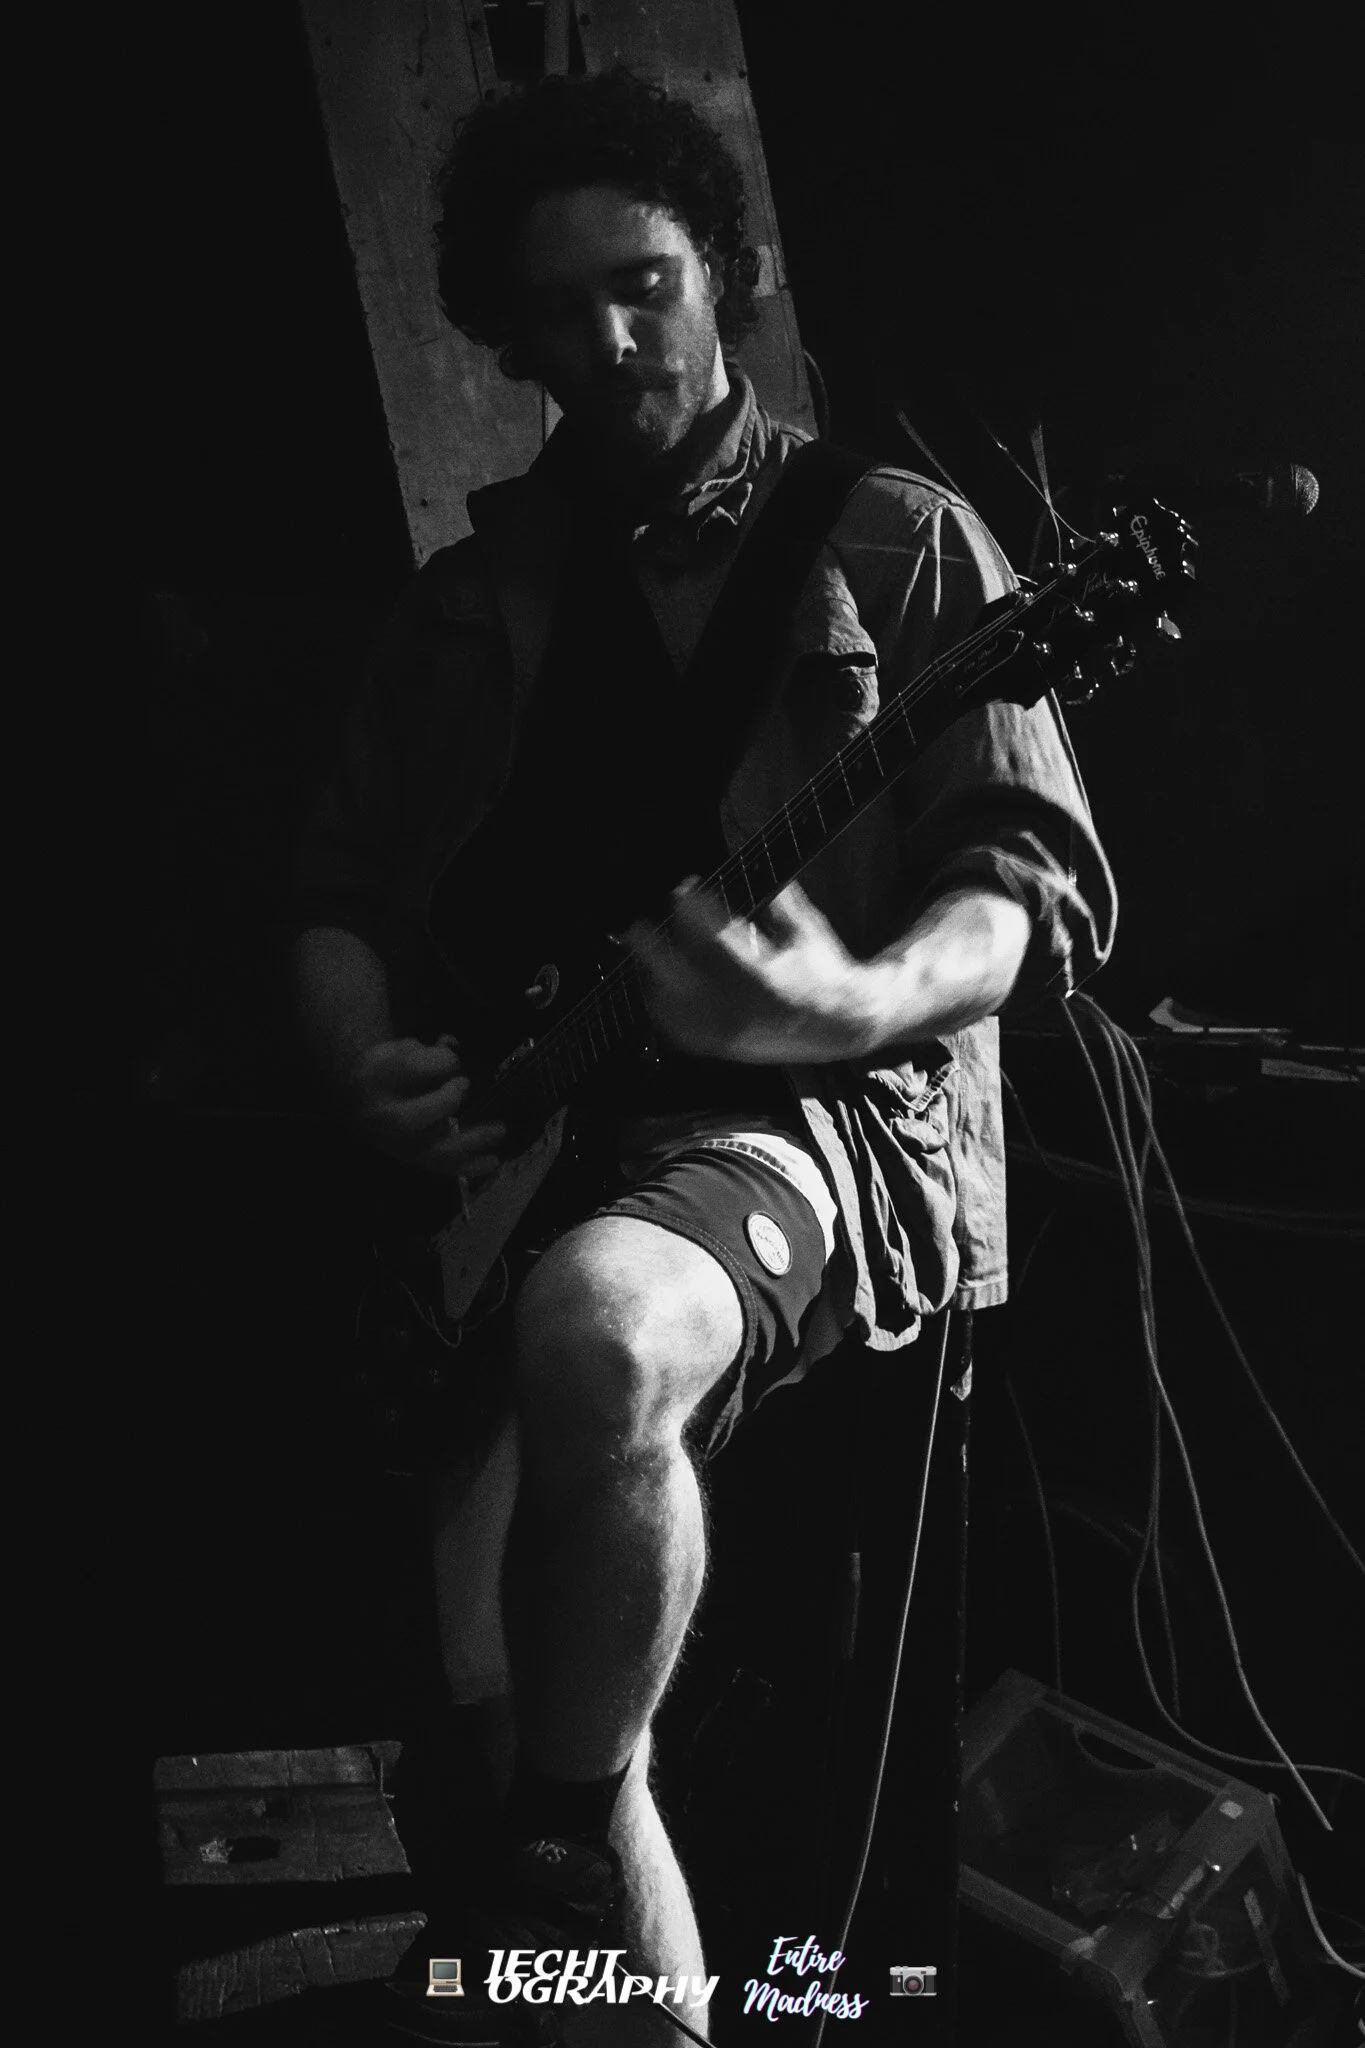
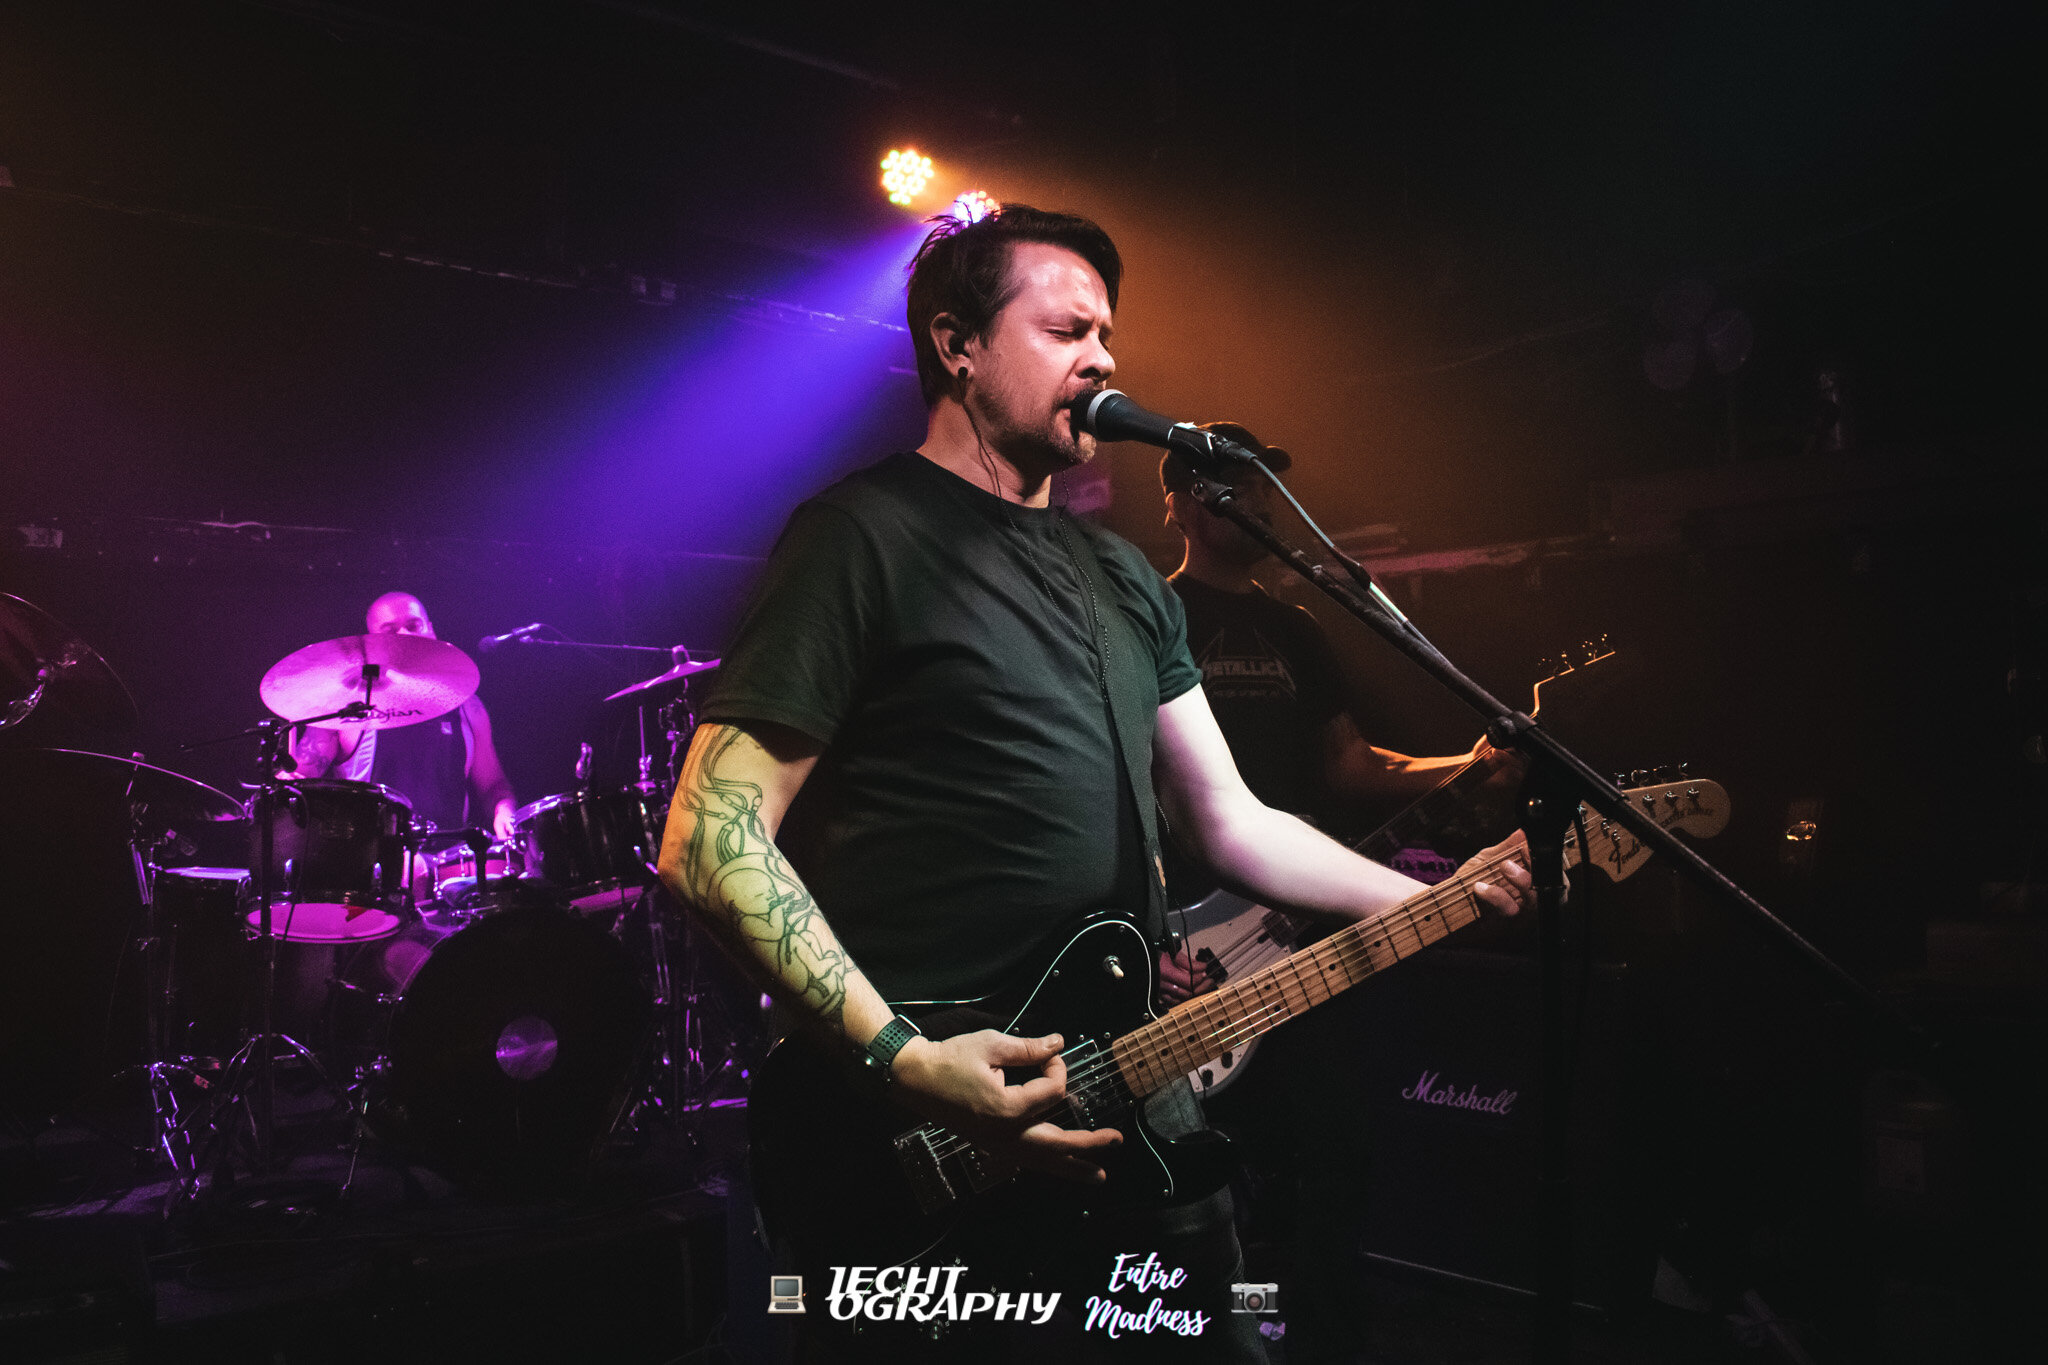
How To Human
Entire Madness shot, Jechtography edited
This is where you’ll find the latest watermarked photo galleries on the website, free to re-share on social media without cropping. Check out the year tabs for a quicker viewing experience
If you’ll like to purchase photos featured on this website and/or videos from these shows for merch and promotional purposes, get in touch via my Social Media accounts

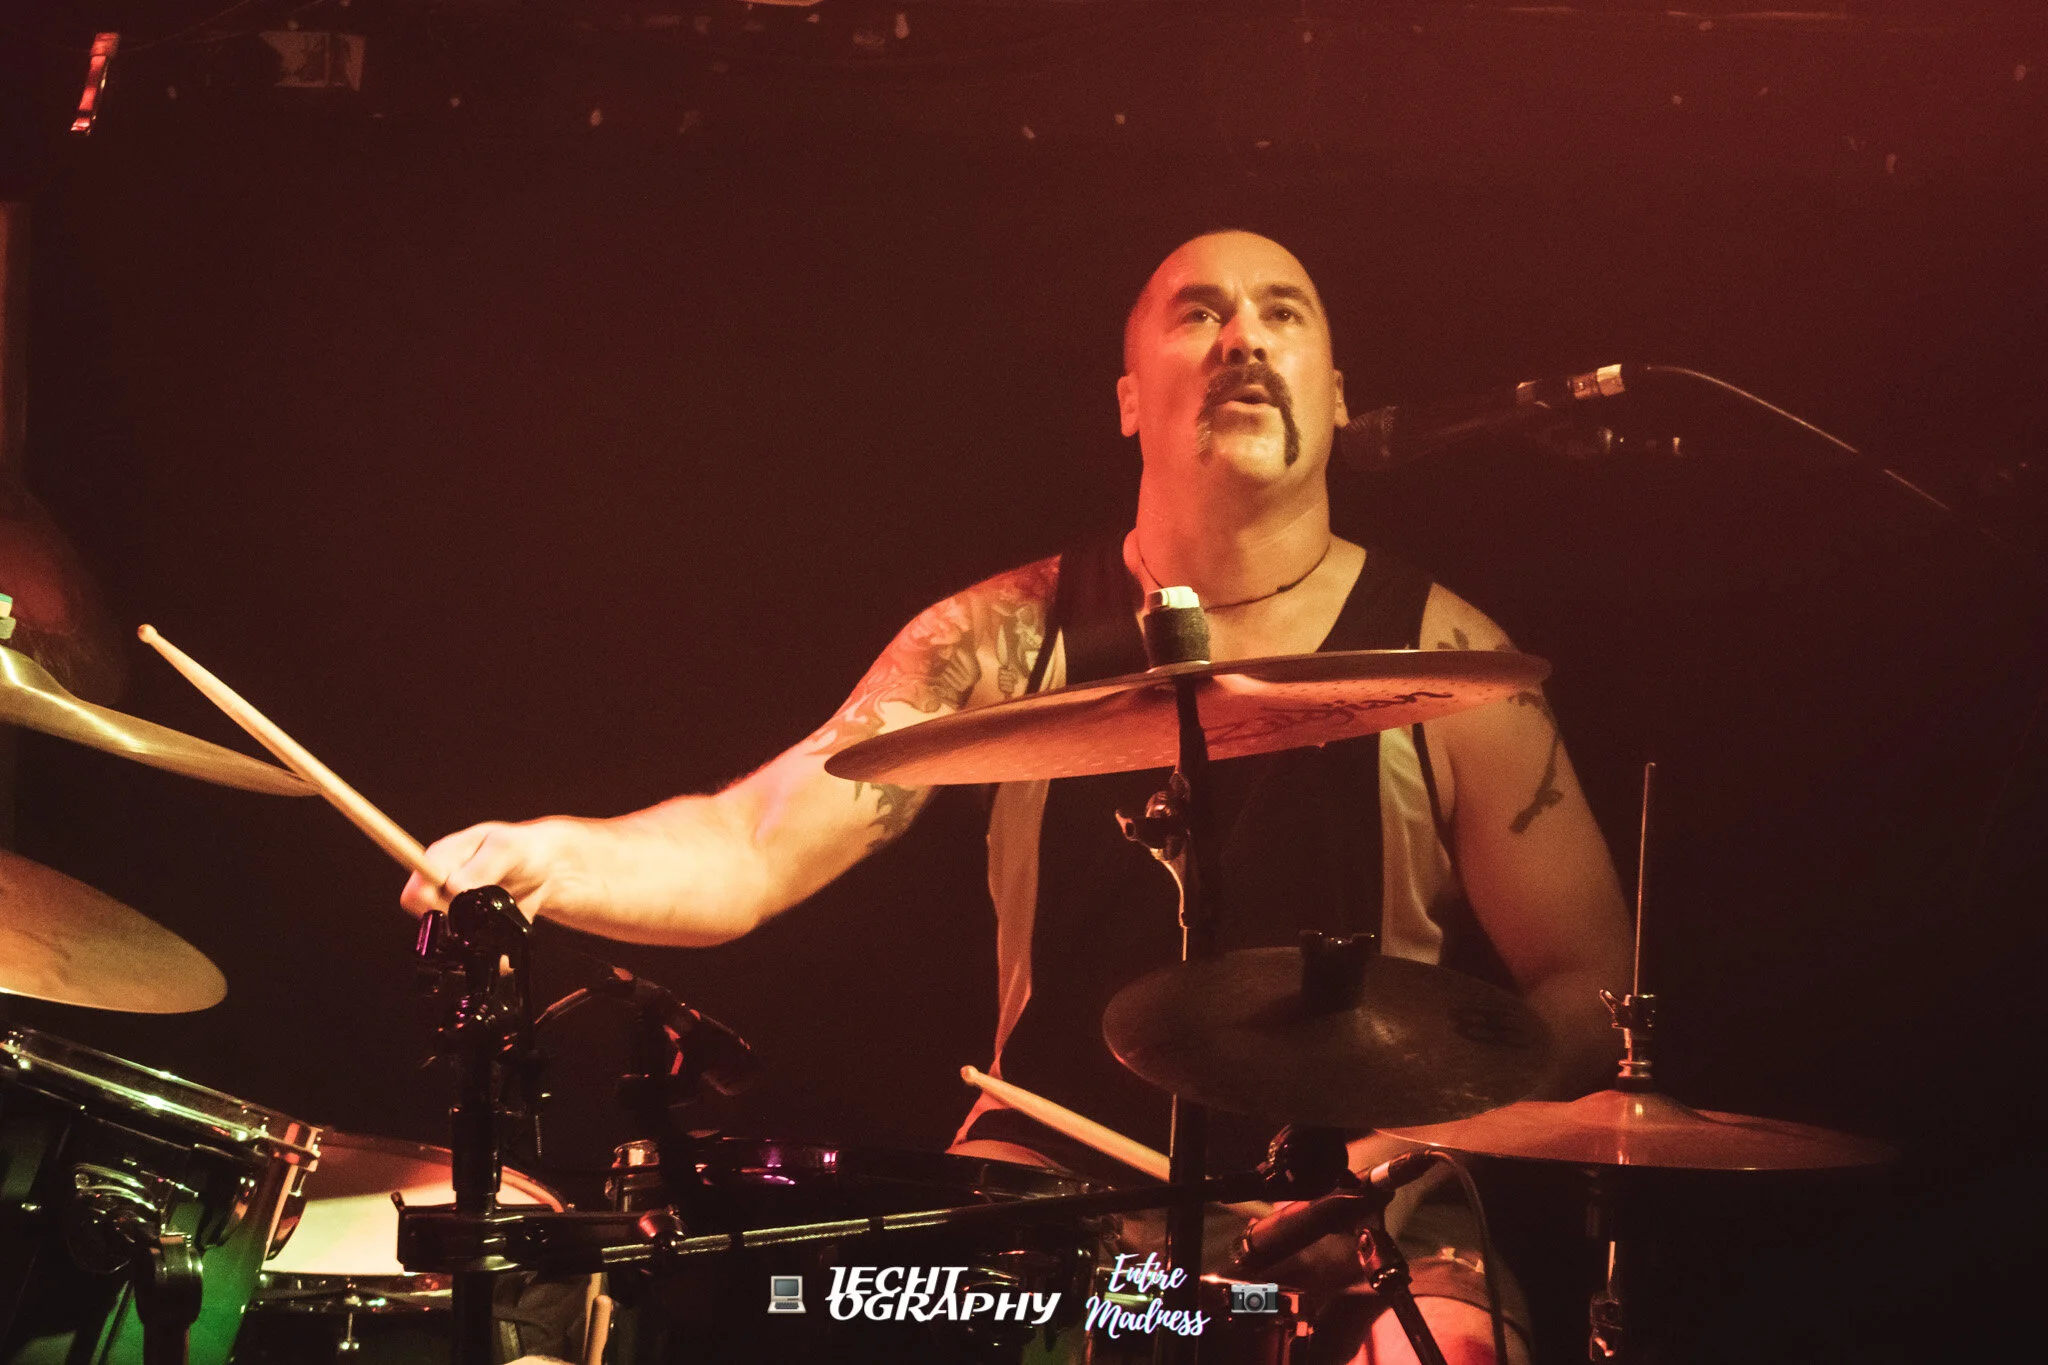
XFM
Entire Madness shot, Jechtography edited

S H E
Entire Madness shot, Jechtography edited
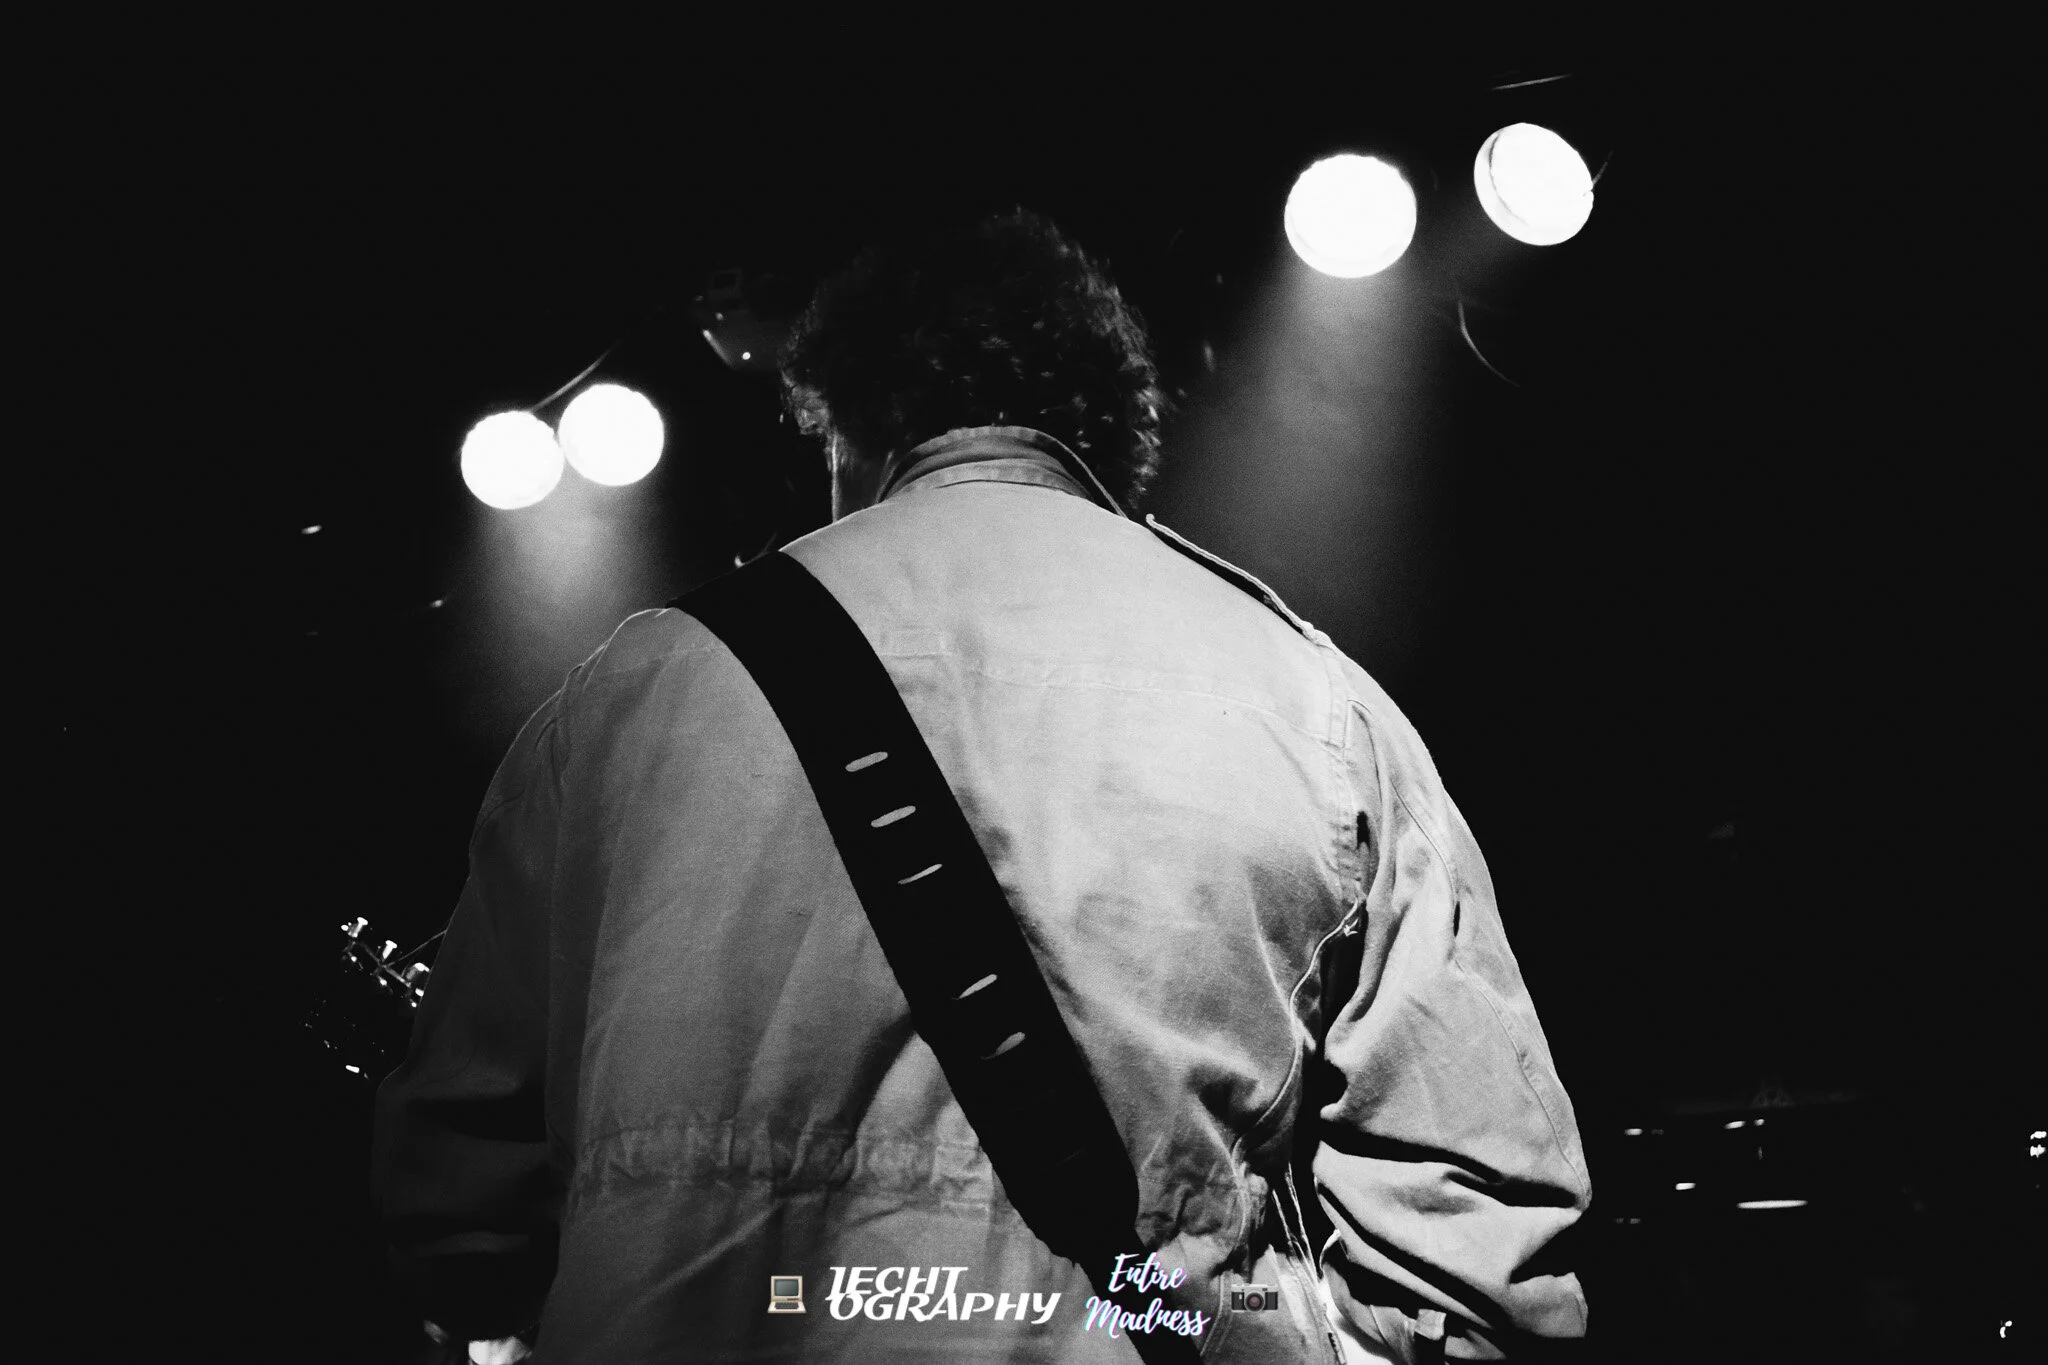
How To Human
Entire Madness shot, Jechtography edited